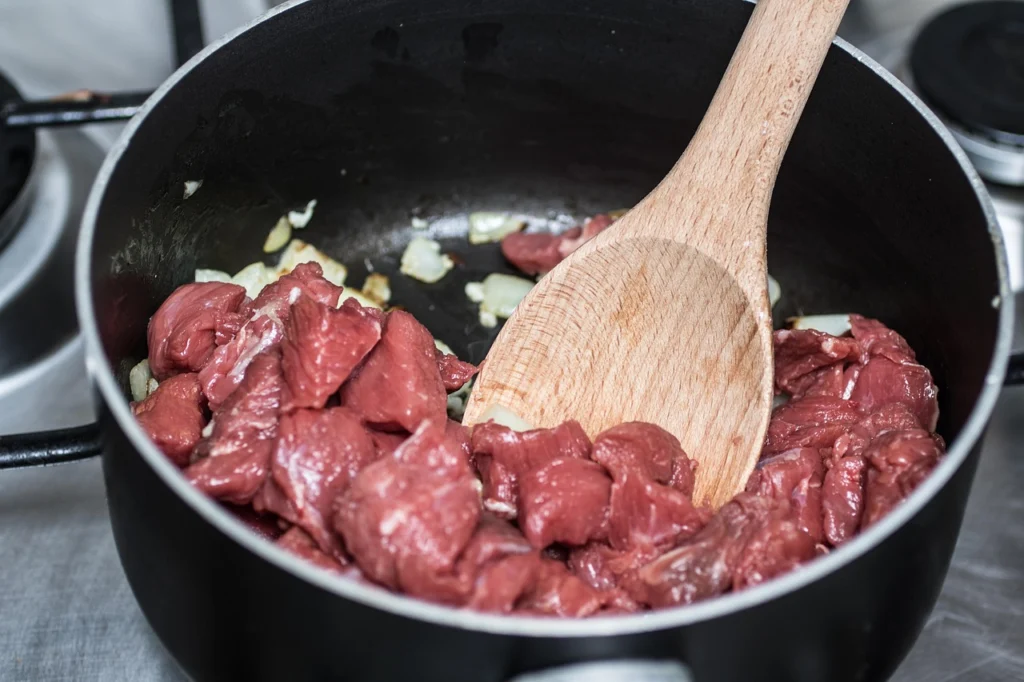
Short answer: To brown beef for stew, pat the meat thoroughly dry, season it with salt and pepper, then sear in small batches in a heavy pan over medium-high heat with enough oil to coat the bottom. Don’t crowd the pan. Let each piece develop a deep brown crust on all sides before removing. That crust is where the flavor lives.
Key takeaways
- Dry meat is the secret to a good sear.
- Use a heavy pan and medium-high heat.
- Brown in small batches, never crowd the pan.
- Don’t move or flip the beef too early.
- Deglaze the pan to capture every bit of flavor.
- Chuck roast is the best cut for stew.
What you will find here
Browning beef for stew is not a quick toss in a hot pan. It’s a deliberate step that builds the foundation of the entire dish. When you sear beef properly, you create a deep, savory crust on each piece that translates into a rich, complex stew. Skip this step or rush it, and you’ll end up with gray, steamed meat and thin, weak broth. Here’s exactly how to do it right.
Why Brown the Beef at All?
Browning beef isn’t about sealing in juices. That’s an old myth. What actually happens is called the Maillard reaction. When meat hits high, dry heat, the amino acids and sugars on its surface react with each other, creating hundreds of new flavor compounds. Those compounds give stew its characteristic deep, meaty, slightly sweet, and toasty notes. Without browning, stew meat just simmers in liquid and tastes boiled, no matter how good your stock or vegetables are.
Many people find that a properly browned stew tastes richer and more satisfying than one made with unbrowned meat. The difference is noticeable within the first spoonful. So if you want a stew that tastes like it cooked for hours, start by browning the beef correctly.
How to Brown Beef for Stew: A Step-by-Step Guide
You don’t need fancy equipment or a culinary degree. You just need a heavy pan, the right heat, and a little patience. Here’s the exact process I use every time.
Step 1: Choose the Right Cut
Stew meat should be tough and well-marbled, not lean and tender. My top pick is chuck roast. It has enough fat and connective tissue to stay moist during a long, slow cook, and it browns beautifully. Other good options are beef short ribs (boned and cut), bottom round, or brisket. Avoid pre-cut “stew meat” from the grocery store if you can—it’s often a mix of trimmings from different muscles, and the pieces cook unevenly. Buy a whole roast and cut it yourself into 1 to 1.5-inch cubes.
Step 2: Pat the Meat Completely Dry
Moisture is the enemy of browning. If the meat has any surface water, that water will turn to steam as soon as it hits the pan, and the meat will braise instead of sear. Use paper towels to blot every piece until it feels dry to the touch. Don’t skip this. Even a small amount of moisture can ruin the crust you’re trying to build.
Step 3: Season Before Searing
Salt and pepper are enough. Season the cubes generously right before they go into the pan. The salt helps draw some moisture to the surface, but if you pat the meat dry first and then season immediately, the salt won’t have time to pull too much liquid out. Some cooks like to add a light dusting of flour to the beef before browning. That’s optional—it can help thicken the stew later, but it’s not necessary for flavor. I usually skip it and thicken the stew with a roux or a slurry at the end.
Step 4: Use the Right Pan and Oil
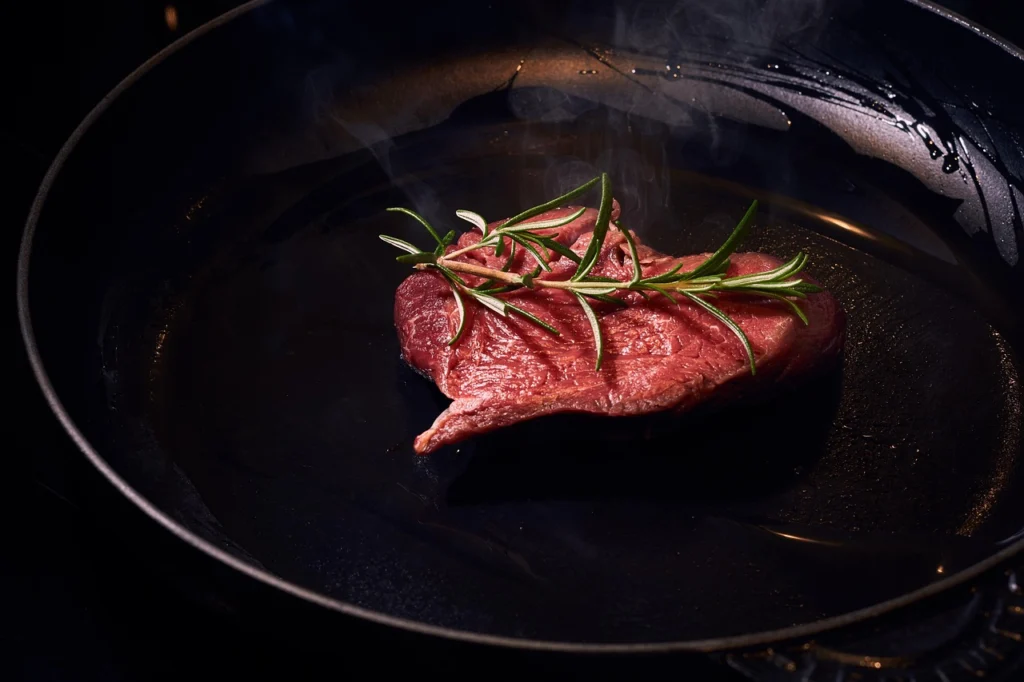
A heavy-bottomed Dutch oven or a large cast-iron skillet is ideal. It holds heat well and gives you an even sear without hot spots. Avoid nonstick pans—they don’t get hot enough to brown meat properly, and the coating can degrade at high temperatures.
Add about a tablespoon or two of oil with a high smoke point. Avocado oil, grapeseed oil, or refined olive oil all work. Heat the pan over medium-high heat until the oil shimmers but doesn’t smoke. If you’re using a Dutch oven, let it preheat for a few minutes before adding the oil.
Step 5: Brown in Small Batches
This is the step most people get wrong. If you dump all the beef into the pan at once, the temperature drops fast, and the meat releases its juices. Then you’re back to steaming. Instead, add the cubes in a single layer with space between each piece. Depending on the size of your pan, you may need to work in three or four batches. Yes, it takes time. Yes, it’s worth it.
Let the beef sear undisturbed for 2 to 4 minutes on the first side. Don’t poke it, don’t move it, don’t shake the pan. You want a deep brown crust to form. When that side is done, the meat will release easily from the pan. Use tongs to turn each cube and brown the other sides. You don’t need to sear all six sides—two or three well-browned sides are enough. Transfer the browned beef to a plate and repeat with the remaining batches.
Step 6: Deglaze the Pan
After the last batch is out, you’ll see a dark brown layer stuck to the bottom of the pan. That’s called fond, and it’s pure flavor. Don’t waste it. With the pan still on the heat, pour in a splash of liquid—red wine, beef broth, or even water—and scrape the bottom with a wooden spoon. The fond will dissolve into the liquid, and you can add that liquid straight to your stew. This one step can make your stew taste dramatically better.
Common Mistakes That Ruin the Brown
Even experienced cooks can slip up. Here are the most common things that go wrong and how to avoid them.
Not drying the meat. I mentioned it before, but it’s worth repeating. If you only remember one tip from this article, make it this one. Dry meat browns, wet meat steams.
Overcrowding the pan. If the pieces are touching, steam gets trapped between them, and they’ll turn gray instead of brown. Give each cube enough space to breathe.
Using too low heat. The pan needs to be hot enough to trigger the Maillard reaction quickly. If you’re on medium or medium-low, the meat will slowly release moisture and never develop a crust. Medium-high is the sweet spot.
Flipping too early. The beef will stick to the pan at first. That’s normal. If you try to move it before a crust forms, you’ll tear the meat and leave half the sear on the pan. Wait until it releases on its own.
Not deglazing. I never skip this. The fond is concentrated flavor, and it only takes a minute to scrape it up. If you don’t, you’re throwing away the best part of the browning process.
Best Beef Cuts for Browning and Stewing
Not all beef browns the same, and not all beef holds up to a long braise. Here’s a quick comparison of the most common cuts for stew.
| Cut | Browning Quality | Stewing Quality | Notes |
|---|---|---|---|
| Chuck roast | Excellent | Excellent | Best all-around choice; rich flavor and becomes tender with time. |
| Beef short ribs | Excellent | Excellent | Very rich and beefy, but more expensive and needs boning. |
| Brisket | Very good | Good | Leaner than chuck; can dry out if overcooked. Use the point end. |
| Bottom round | Good | Fair | Lean and somewhat tough; best with added fat or gelatin. |
| Sirloin tip | Good | Fair | Can become dry; better for shorter braises. |
| Pre-cut “stew meat” | Variable | Variable | Mix of trimmings; uneven size leads to uneven cooking. |
If you have a choice, go for chuck roast. It’s affordable, widely available, and delivers exactly what you want in a stew: deep flavor and a tender, shreddable texture after a few hours of low-and-slow cooking.
How Browned Beef Changes the Final Stew
The difference between a stew made with browned beef and one made with unbrowned beef is night and day. The flavor is deeper and more layered. The color is darker and more appetizing. The aroma—that rich, beefy smell that fills the kitchen—comes almost entirely from the searing step.
But there’s a practical benefit too. When you brown the beef, you also render out some of the fat. That extra fat can be used to sauté your onions and aromatics, adding another layer of flavor to the pot. Just don’t pour off all of it; a little rendered fat in the stew is a good thing.
For the best results, brown the beef first, then use the same pot to cook your onions, garlic, tomato paste, and spices before adding the liquid. That sequence builds flavor on top of flavor, and your stew will taste like it came from a restaurant kitchen.

Frequently Asked Questions About Browning Beef for Stew
Here are the answers to the questions I get most often from home cooks.
Should I flour the beef before browning? You can, but it’s not required. A light dusting of flour helps create a thicker stew later and adds a slightly nutty flavor as it browns. If you do flour, shake off the excess and make sure your pan is hot enough or the flour will clump.
How long should I brown each batch? About 3 to 5 minutes per batch, depending on the size of your cubes and the heat of your pan. The goal is a deep brown color, not a black char. Watch closely and adjust the heat as needed.
Can I brown the beef the day before? Yes. Brown the beef, let it cool, and refrigerate it in a covered container. The next day, deglaze the pan as usual and proceed with the stew. The flavor is just as good, and it saves time on cooking day.
For a deeper look at how this technique transforms a stew, see How to Brown Beef for Stew So Every Bite Tastes Rich. And if you’re just getting started with our blog, you can find a quick introduction here.
Frequently asked questions
Why won’t my beef brown?
Usually it’s because the meat is too wet, the pan isn’t hot enough, or you’re crowding the pan. Pat the beef dry, use medium-high heat, and sear in small batches with space between each piece. A heavy pan helps maintain temperature.
Can I brown beef in a nonstick pan?
You can, but it’s not ideal. Nonstick pans don’t get hot enough for a deep sear and can release harmful fumes at very high temperatures. A cast-iron skillet or Dutch oven is much better.
Do I need to brown beef before putting it in a slow cooker?
You don’t have to, but you should. Browning adds depth of flavor that slow cooking alone can’t produce. It takes 10 extra minutes and makes a noticeable difference in the final dish.
What oil is best for browning beef?
Use an oil with a high smoke point, such as avocado, grapeseed, or refined olive oil. Avoid butter or extra-virgin olive oil, which can burn at the temperatures needed for a good sear.
How do I keep beef from sticking to the pan?
A little sticking is normal and desirable. Make sure the meat is dry, the pan is hot, and the oil is shimmering. Don’t move the beef until a crust forms, then it will release naturally.
Can I brown frozen stew meat?
Always thaw and pat meat dry before browning. Frozen meat releases moisture and drops the pan temperature drastically, causing steaming instead of searing. Thaw in the fridge overnight for best results.
Should I season beef before or after browning?
Season right before browning. Salt and pepper drawn to the surface help with crust formation. Seasoning hours ahead can draw out too much moisture, so keep it fast.